Lime Wash Application over Gypsum Plaster or Gypsum Board
How to prepare a gypsum plastered or gysum board wall for painting with lime wash paint
So often the question comes up if it is possible to paint lime wash paint over gypsum plaster or plaster board panels.
The short answer is YES - with the right preparation you can enjoy a wonderful lime wash finish over gypsum plaster and plaster board surfaces.
If you follow the easy ''PPP''-Rule (Prime - Prep - Paint) anyone can get a great lime wash finish.
We have many great examples of what such a finish looks like when done with the right preparation:


What is important to know is that for a nice lime wash finish the lime paint requires an evenly absorbing surface with not too much and not too little suction.
With dry wall panel and gypsum board construction you usually have a absorption difference between the panels themselves and the panel joints that are filled up with a gypsum based filling compound. If that absorption is not equalised you can end up with ''ghosting''. By ghosting is meant that the outlines of the panel become visible after the painting is completed.
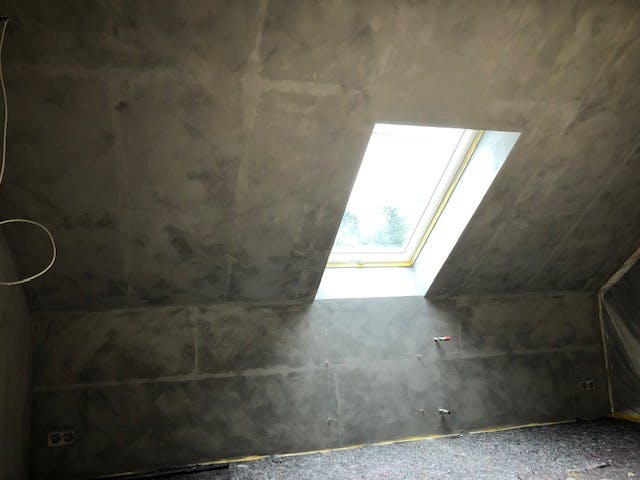
You can do a simple and fast absorption test to see if your surface needs a sealer / undercoat to avoid ''ghosting''.
Here is a photo of what that looks like:
Ghosting is also possible if the entire area has been skim coated with a gypsum plaster coat.
But do not worry, with the right preparation ''ghosting'' can be avoided.
Now, let us begin with the right terminology:
- gypsum board: all types of gypsum board, paper backed or bare gypsum boards
- dry wall panels: those include gypsum board, but can be other type of panelling
- gypsum plaster: in some countries gypsum boards are also covered with a layer of (gypsum) plaster
- primer: a product with certain properties, ie to isolate and block stains, but in this context to eliminate absorption differences
- prep-coat: a Bauwerk Colour product with the main functions to provide an evenly white coloured background with the correct level of absorbency for lime wash paint. Usually applied over a primer or unmarked and well adhering older emulsion paint layers
Step 1 - Primer
eliminate differences in absorbency
We recommend 2 coats of a good quality water based drywall sealer primer.
We don't manufacture such products, but most building merchants carry this as a standard product.
Some of drywall primers come with a tint, some are clear. Colour or not does not matter, the main feature of the primer must be to equalise absorbency to avoid ''ghosting''.
Follow the manufacturers recommendations, but apply at least two coats. Allow enough drying time between coats.
Please note: a simple ''mist coat'' (a diluted application of a cheap emulsion paint) is not a proper primer. Also avoid solvent based primers.
Step 2 - Prep
create an even light coloured background with the right absorbency for lime wash paint
Apply 1 coat of BAUWERK PREP COAT
you can apply the prep-coat with a roller.
Here is more information:
Bauwerk Colour Prep-Coat Flyer
Link to Bauwerk Colour Prep-Coat Product Page
Do I really need BAUWERK Prep Coat?
We have especially developed our Prep Coat as a bridge coat between standard paint and primers to make limewash more durable, and easy to apply. BAUWERK Prep Coat is not a primer. It is important to understand that BAUWERK Limewash and Prep Coat have no capacity to mask what is on your wall, it allows all the history and the materials of the wall to come through. A correctly drywall primer however, will ensure that underlying repairs or ghosting is eliminated.
Step 3 - Paint
application of lime wash paint over prepared gypsum plaster or gypsum board
If you have followed Steps 1 and 2 you now have a really easy surface for the following 2 applications with lime wash paint.
Make sure you use a proper lime wash brush, they are made with natural bristles that can hold the paint and release it evenly and without dripping.
There are many possible ways on how to move the brush across the surface to create a variety of lime wash paint finishes.
Take a look at our videos tutorials to get inspired, but feel free to create your own unique expression.
- make sure you stir your paint very well and regularly.
- maintain a wet edge if you do not want to see joints
- paint nice and thin - stretch out the paint. It is better to apply one more coat then one too thickly
- if you have a very large area get another helper and mix up your positions
- try to cover absolutely everything in the first coat - the second coat can be applied fast and if you miss a spot it does not matter
- allow at least 12 hrs between coats, more in cold / damp conditions
Take care of your Bauwerk Lime wash brush, it is a quality tool and will last a long time and for another job if you look after it. See the care institution for brushes in our brush section.
Allow at least 12 hrs between coats, more in cold / damp conditions.